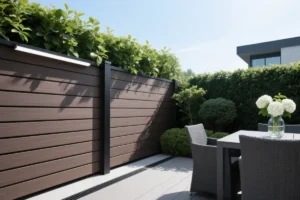
If you’re wondering how to install WPC wall panels for your home, office, or commercial space, you’re in the right place. WPC (Wood-Plastic Composite) wall panels have become one of the most popular interior and exterior cladding materials due to their durability, modern design, and easy maintenance. Compared to traditional materials like paint, wallpaper, or tiles, WPC panels offer a more eco-friendly and long-lasting solution.
In this comprehensive guide, we’ll walk you through everything you need to know about installing WPC wall panels — from preparing the surface to finishing touches. Whether you’re a professional contractor or a DIY homeowner, this article will help you get excellent results.
Why Choose WPC Wall Panels?
Before we jump into installation, let’s quickly review why WPC wall panels are a great choice:
- ✅ Waterproof and moisture-resistant
- ✅ Termite-proof and anti-corrosion
- ✅ Quick installation with tongue-and-groove system
- ✅ Minimal maintenance required
- ✅ Eco-friendly materials
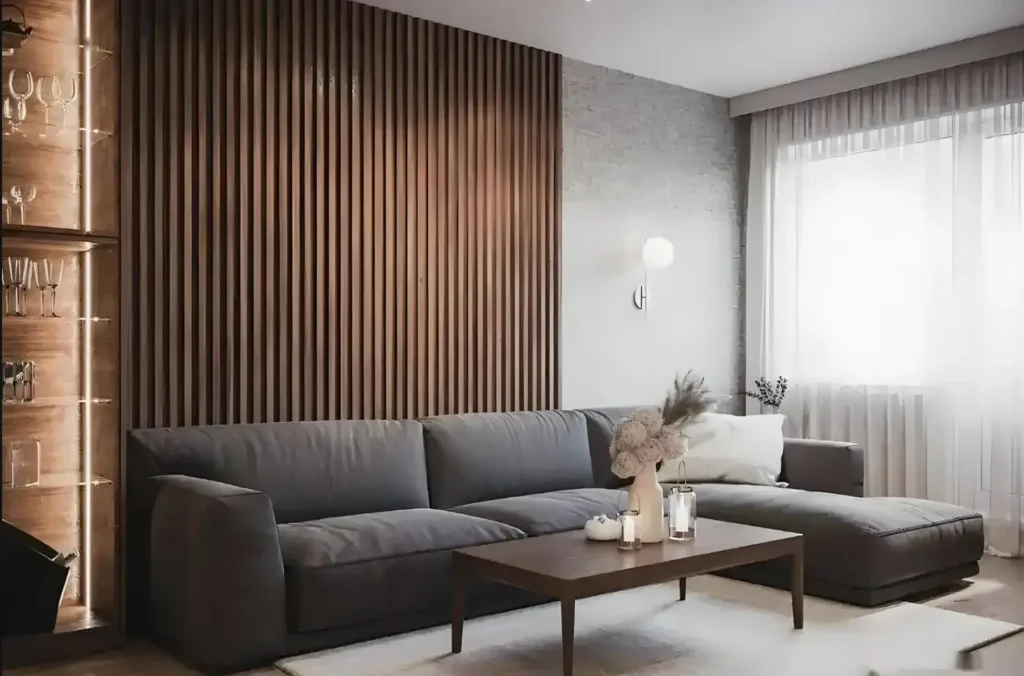
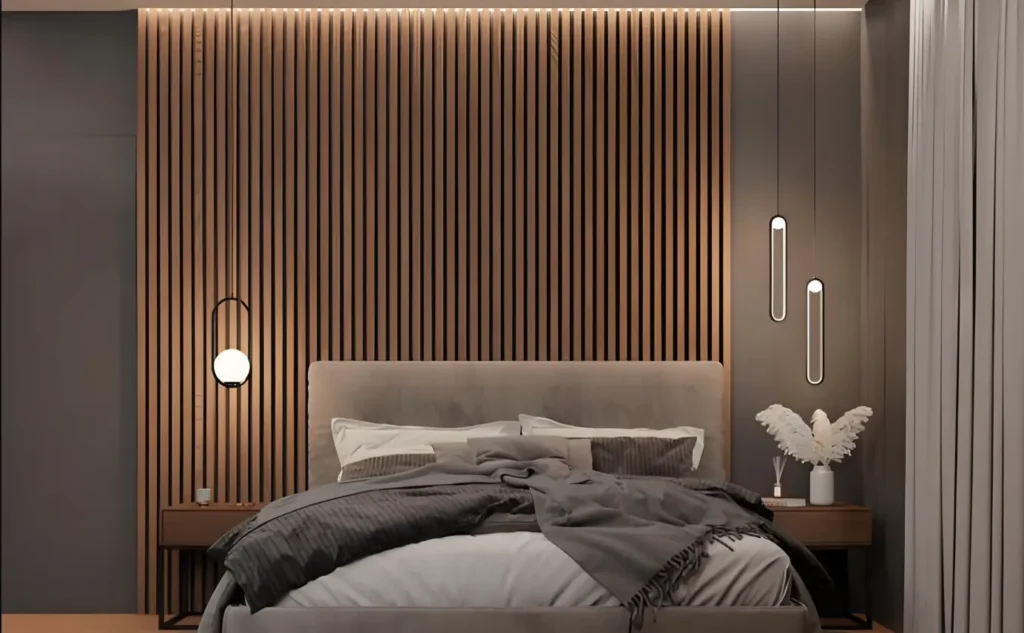
- ✅ Modern and stylish finish
Tools and Materials You’ll Need
Here’s a list of essential tools and materials you’ll need to get started:
- WPC wall panels
- Measuring tape and level
- Pencil or chalk line
- Wooden or aluminum battens (for frame)
- Electric drill and screws
- Starter clips and fasteners
- Jigsaw or cutting saw
- Decorative trims or edge profiles
- Sealant (for humid areas)
Pro Tip: Let the composite wall cladding sit in the installation area for at least 24 hours to acclimate to room temperature and humidity.
Step 1: Prepare the Wall Surface
The first step in WPC panel installation is preparing a clean, dry, and level wall surface.
- Remove old paint, wallpaper, or uneven areas.
- Use a level to check flatness.
- For uneven surfaces, install wooden/aluminum battens as a supporting frame.
If you’re installing on a concrete wall or brick surface, anchoring the battens with wall plugs will provide the necessary support.
Step 2: Install the Support Frame (Battens)
WPC panels are mounted on horizontal or vertical battens spaced 400–500mm apart, depending on the desired panel direction.
- Use aluminum joists for outdoor or humid environments.
- Make sure the battens are straight and well-secured with screws or wall plugs.
- Leave a 10–20mm ventilation gap behind the panels if needed.
Step 3: Fix the Starter Strip
Attach a starter strip at the bottom of the wall or panel layout. This small but critical component ensures your first panel sits evenly and securely.
- Use stainless steel starter clips for durability.
- Double-check the alignment using a level tool.
This step ensures all subsequent panels lock in place correctly using the tongue-and-groove system.
Step 4: Install the First WPC Wall Panel
Now place the first panel onto the starter strip:
- Fit the tongue into the starter clip.
- Push gently to secure it.
- Use concealed fasteners or screws to fix the panel onto the battens.
Ensure the first panel is perfectly level, as all others will follow its position.
Step 5: Continue with the Remaining Panels
Work your way up (or sideways, depending on orientation):
- Insert the next panel’s tongue into the groove of the previous panel.
- Tap gently with a rubber mallet if needed.
- Secure with clips or fasteners.
- For outlets, corners, or windows, mark and cut the panels using a jigsaw.
Always check alignment after every few panels to avoid cumulative errors.
Step 6: Install Edge Profiles and Corner Trims
Once all panels are installed, use finishing trims to create a polished look:
- Inner and outer corner trims for neat joints
- U-shaped trims for the top or bottom edges
- L-shaped profiles for transitions between panels and other surfaces
These profiles not only enhance appearance but also provide additional water resistance.
Step 7: Apply Sealant (Optional)
In areas like kitchens, bathrooms, or outdoor patios, it’s recommended to seal the panel edges with silicone sealant:
- Prevents moisture from seeping in
- Enhances long-term durability
- Improves aesthetics around trims
Step 8: Clean and Inspect
Once installation is complete:
- Clean the composite wall claddng with a soft cloth and mild detergent.
- Inspect joints, corners, and trims for alignment or gaps.
- Make any necessary adjustments before wrapping up.
Extra Tips for Perfect Installation
- 🔹 Always follow manufacturer installation guidelines.
- 🔹 For large walls, work in sections to avoid misalignment.
- 🔹 Use UV-resistant WPC panels for outdoor or sun-exposed areas.
- 🔹 Avoid over-tightening screws — allow for expansion and contraction.
- 🔹 Leave 2–3mm expansion gaps at the edges and corners.
Conclusion
Now that you understand how to install WPC wall panels, you’re ready to take on your wall renovation project with confidence. WPC panels are a great investment for homeowners, designers, and contractors looking for style, sustainability, and durability. With the right preparation and technique, your decorative wall panels will look professional and last for years with minimal upkeep.